
Check Out My Back Side
I first learned how to cross stitch when I was around 7 years old. As a new stitcher, I only concentrated on following the pattern to make sure the front of my work looked right. After successfully completing several projects, I noticed that the back of my work was not very tidy. Was this a big deal? Absolutely not. These pieces were usually framed, so you couldn’t see the back anyway.

Here’s one of my messier backs. I carried the floss across some bigger areas which makes the tension of the piece a little off.
As a teenager, I tried to focus more on the backs of my cross stitch pieces. I learned how to start and stop without using knots. That helped with some random bulkiness. I also learned how to consistently make my X’s so that the back was really neat. It actually felt good to have the back looking almost as nice as the front.

Here’s the back side of Chessboard Filling Stitch.

Here’s the back side of Woven Star Stitch.
Then I didn’t do hand stitching for awhile. I focused on other crafts, especially knitting. After many years, I decided to pick up my needle and thread again. I started doing surface embroidery, so I wasn’t constrained by the rules of counted cross stitch. As I worked on this slightly different craft, I had more to learn about making the front of my work and the back look good again.

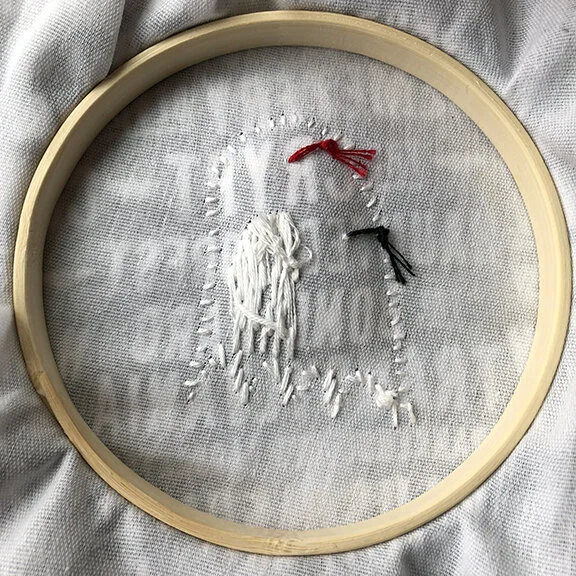
The back side is not really neat, but I think the back of this one is almost as interesting as the front.
I did some exploration of new stitches so I could expand beyond what I previously knew from counted cross stitch. Since the number of stitches you can use with embroidery is so diverse, there was a lot to learn. I love stitching, but I am often annoyed by threading the needle. As an extremely far-sighted person, it can be difficult to focus on that little eye to get those threads through easily. In order to avoid threading my needles or starting/stopping my work, I’d carry my thread farther than I should have. It’s not horrible, but it can make some weird tension issues or peek through on the front side.
I changed my mind in how I was going to do this project. I just left those stitches in because you couldn’t see them on the front.

This back side isn’t too messy, but what was I doing with that big strand that crosses the whole piece? I have no idea.
In order to make my work a little neater, I learned a few helpful things along the way. First of all, I now use a scrap piece of fabric behind my main fabric whenever I stitch. This piece of fabric is not ever seen, so it can be any sort of scrap as long as it’s not visible through the front. This extra piece of fabric helps to disguise any areas where your darker threads are carried across a distance so you can’t see it on the front. Yea! I also learned how to start without using a knot. You can fold your thread in halve, then put all of the cut ends through the eye of your needle. The other end will be a loop. As you make your first stitch, you can catch that loop to secure it in place, so you don’t need a knot. This only works when you’re using an even number of strands, so I do sometimes still use knots.

My yellow stitches are pretty neat here, but my green stitches are a little bonkers.

Here’s a back that’s pretty good.
I have also tried out a variety of stitches while doing my 100 Day Projects. Here’s the cool thing. There are reversible stitches! How cool is that?! Some of these stitches look the same on the front and the back (e.g. Triangular Turkish Stitch, Holbein Stitch or Satin Stitch). Some have the same pattern, but the pattern is mirrored like with Bosnia Stitch. There are other stitches that look good on the front and the back, but they don’t look the same. Paris Stitch and Two-Sided Insertion Stitch are just two examples of stitches that look good on both sides with different patterns.

Here’s the front side of Two-Sided Insertion Stitch.

Here’s the back side of Two-Sided Insertion Stitch.
As a professional maker, I really try to make my work as neat as possible. I’ll be honest, though. I still have wonkiness on the back sides. Sometimes I get a crazy knot while stitching or I don’t pull my thread all the way through, and I just leave these missteps in there. I think it adds to the human nature of this work. It’s not meant to be perfect. The good news is that you can always cover the back, so nobody will ever know the truth. It’ll be our little secret.

How neat are the back of these stitches? We’ll never know.